How do I start streaming on Twitch? It's easier than you think. With a computer or console, an internet connection, and free software, you can go live on Twitch today. This guide walks you through everything — from creating your account to getting your first viewers.
Whether you want to stream games, creative content, just chatting, or music, the fundamentals are the same. By the end of this guide, you'll know exactly how to start streaming on Twitch and set yourself up for growth.
Quick Start: Stream on Twitch in 5 Steps
Here's the fastest path to your first stream:
- Create a Twitch account at twitch.tv
- Download OBS Studio (free) from obsproject.com
- Connect OBS to Twitch using your stream key
- Add your sources (game capture, webcam, mic)
- Click "Start Streaming" and go live
That's the overview. Below, we'll cover each step in detail with pro tips to help you stand out from day one.
What You Need to Start Streaming on Twitch
Before you go live, let's cover the essentials:
Minimum Requirements
| Component | Minimum | Recommended |
|---|---|---|
| Internet Upload | 5 Mbps | 10+ Mbps |
| CPU | Quad-core | 6+ cores |
| RAM | 8 GB | 16+ GB |
| GPU | Integrated | Dedicated (GTX 1660+) |
| Webcam | 720p | 1080p |
| Microphone | Headset mic | USB condenser |
Platform Options
You can stream to Twitch from:
- Windows PC — Most common, best software support
- Mac — Fully supported with OBS
- PlayStation 5/4 — Built-in streaming
- Xbox Series X/S — Built-in streaming
- Nintendo Switch — Requires capture card
- Mobile — Twitch app (limited features)
Step 1: Create Your Twitch Account
First step in how to start streaming on Twitch — you need an account.
Creating Your Account
- Go to twitch.tv
- Click Sign Up in the top right
- Enter your username, password, email, and birthday
- Verify your email address
- Enable Two-Factor Authentication (required for streaming)
Choosing Your Username
Your username becomes your brand. Consider:
- Keep it memorable — Short, easy to spell
- Make it unique — Avoid numbers and underscores if possible
- Think long-term — Can you see yourself with this name in 5 years?
- Check availability — Ensure it's available on YouTube, Twitter, etc.
You can change your username later, but it affects discoverability and brand recognition.
Enable Two-Factor Authentication
Twitch requires 2FA to stream. Here's how:
- Go to Settings → Security and Privacy
- Click Set Up Two-Factor Authentication
- Enter your phone number
- Verify with the code sent to your phone
- Save your backup codes somewhere safe
Step 2: Download and Install OBS Studio
OBS Studio is the industry-standard streaming software — and it's completely free.
Why OBS?
| Feature | OBS Studio | Streamlabs | Twitch Studio |
|---|---|---|---|
| Price | Free | Free (paid tier) | Free |
| Resource Usage | Low | Higher | Medium |
| Customization | Maximum | High | Limited |
| Learning Curve | Medium | Easy | Easiest |
| Plugin Support | Extensive | Good | None |
For beginners wondering how do I start streaming on Twitch, we recommend OBS Studio for its balance of power and efficiency.
Installing OBS
- Visit obsproject.com
- Download the version for your operating system
- Run the installer
- Launch OBS and complete the auto-configuration wizard
Auto-Configuration Wizard
When you first open OBS:
- Select Optimize for streaming
- Enter your Twitch stream key (we'll get this next)
- Let OBS run its bandwidth test
- Accept the recommended settings
This gives you a solid starting point. You can fine-tune later.
Step 3: Connect OBS to Twitch
Now let's link your software to your Twitch channel.
Getting Your Stream Key
- Log into Twitch and go to your Creator Dashboard
- Click Settings → Stream
- Copy your Primary Stream Key
Important: Never share your stream key. Anyone with it can stream to your channel.
Connecting in OBS
- Open OBS → Settings → Stream
- Select Twitch as the service
- Click Connect Account (recommended) or paste your stream key
- Click Apply
The "Connect Account" method is easier and provides additional features like chat integration.
Step 4: Configure Your Stream Settings
Proper settings are crucial for stream quality. Here's what works for most beginners:
Video Settings
| Setting | Recommended Value |
|---|---|
| Base Resolution | Your monitor resolution (e.g., 1920x1080) |
| Output Resolution | 1920x1080 or 1280x720 |
| FPS | 30 or 60 |
| Downscale Filter | Lanczos |
Output Settings (Streaming)
| Setting | Recommended Value |
|---|---|
| Encoder | x264 or NVENC (if you have Nvidia) |
| Rate Control | CBR |
| Bitrate | 4500-6000 Kbps (for 1080p) |
| Keyframe Interval | 2 |
| Preset | Quality or Balanced |
Audio Settings
| Setting | Recommended Value |
|---|---|
| Sample Rate | 48 kHz |
| Channels | Stereo |
| Desktop Audio | Default device |
| Mic/Aux Audio | Your microphone |
Bitrate Guide by Resolution
| Resolution | FPS | Recommended Bitrate |
|---|---|---|
| 720p | 30 | 2500-3500 Kbps |
| 720p | 60 | 3500-4500 Kbps |
| 1080p | 30 | 4000-5000 Kbps |
| 1080p | 60 | 5000-6000 Kbps |
Step 5: Set Up Your Scenes and Sources
Scenes and sources are how OBS knows what to display on your stream.
Understanding Scenes vs Sources
- Scene: A layout/preset (e.g., "Gaming", "Just Chatting", "Starting Soon")
- Source: Individual elements within a scene (game capture, webcam, overlays)
Essential Sources for Gaming
- Game Capture — Captures your game
- Video Capture Device — Your webcam
- Audio Input Capture — Your microphone
- Audio Output Capture — Your desktop audio
Adding a Game Capture
- In OBS, click + under Sources
- Select Game Capture
- Name it (e.g., "Game")
- Choose Capture specific window or Capture any fullscreen application
- Select your game from the dropdown
- Click OK
Adding Your Webcam
- Click + under Sources
- Select Video Capture Device
- Name it (e.g., "Webcam")
- Select your camera from the dropdown
- Adjust resolution and FPS
- Click OK
- Resize and position in the preview
Adding Your Microphone
- Click + under Sources
- Select Audio Input Capture
- Name it (e.g., "Mic")
- Select your microphone
- Click OK
Step 6: Create Multiple Scenes
Professional streamers use multiple scenes:
Recommended Scenes
| Scene | Purpose |
|---|---|
| Starting Soon | Displayed before you go live |
| Main Gameplay | Your primary gaming layout |
| Just Chatting | Webcam-focused for chat segments |
| BRB | When you step away |
| Ending | Thank viewers, show socials |
Setting Up Scene Transitions
- Go to Scene Transitions in OBS
- Click + to add transitions
- Choose Fade, Slide, or Stinger
- Set duration (300-500ms works well)
Step 7: Test Your Stream
Before going public, do a test:
Private Test Method
- In Twitch Creator Dashboard, find your stream preview
- Start streaming in OBS
- Watch your preview (there's a 10-15 second delay)
- Check audio levels, video quality, and layout
- Stop streaming when satisfied
What to Check
- Game audio is audible but not too loud
- Microphone is clear and properly leveled
- Webcam is focused and well-lit
- No frame drops in OBS stats
- Stream looks good at intended resolution
Step 8: Customize Your Twitch Channel
Make your channel look professional before going live.
Essential Customizations
| Element | Recommendation |
|---|---|
| Profile Picture | Clear face or logo (256x256px) |
| Banner | Branded image (1200x480px) |
| Bio | Who you are, what you stream, schedule |
| Panels | About, Schedule, Rules, Socials, Donate |
| Offline Screen | Branded image (1920x1080px) |
Setting Up Panels
Panels appear below your stream. Essential panels include:
- About Me — Brief bio and streaming style
- Schedule — When you go live
- Rules — Chat behavior expectations
- Social Links — Twitter, Discord, YouTube
- Support — Donation/tip link if desired
Step 9: Go Live for the First Time
Ready? Here's your go-live checklist:
Pre-Stream Checklist
- Close unnecessary programs
- Disable notifications (Discord, Windows, etc.)
- Set your stream title in Twitch dashboard
- Select the correct category/game
- Add relevant tags
- Test mic and camera one more time
- Have water nearby
Going Live
- Open OBS
- Verify your scene looks correct
- Click Start Streaming
- Wait 10-15 seconds for Twitch to register
- Confirm you're live in the Creator Dashboard
- Start talking — introduce yourself and what you're playing
First Stream Tips
- Talk constantly — Dead air kills streams
- Narrate your gameplay — Explain what you're doing
- Acknowledge viewers — Even if chat is empty
- Don't apologize — For being new, nervous, etc.
- Set a reasonable length — 1-2 hours for first streams
Step 10: Grow Your Channel
Going live is just the beginning. Here's how to actually build an audience:
The Zero Viewer Problem
Here's the uncomfortable truth about starting streaming on Twitch: the algorithm buries new streamers.
When someone browses a category, streams are sorted by viewer count. With 0-5 viewers, you're invisible beneath hundreds of other streams. This isn't fair — but it's reality.
Organic Growth Strategies
Cross-platform content:
- Post clips on TikTok and YouTube Shorts
- Build a Twitter/X presence
- Create a Discord community
- Network with other streamers
Streaming fundamentals:
- Maintain a consistent schedule
- Focus on discoverability (titles, tags)
- Engage authentically with every viewer
- Improve audio/video quality over time
Learn more in our guide to growing your Twitch audience fast.
Overcoming the Visibility Barrier
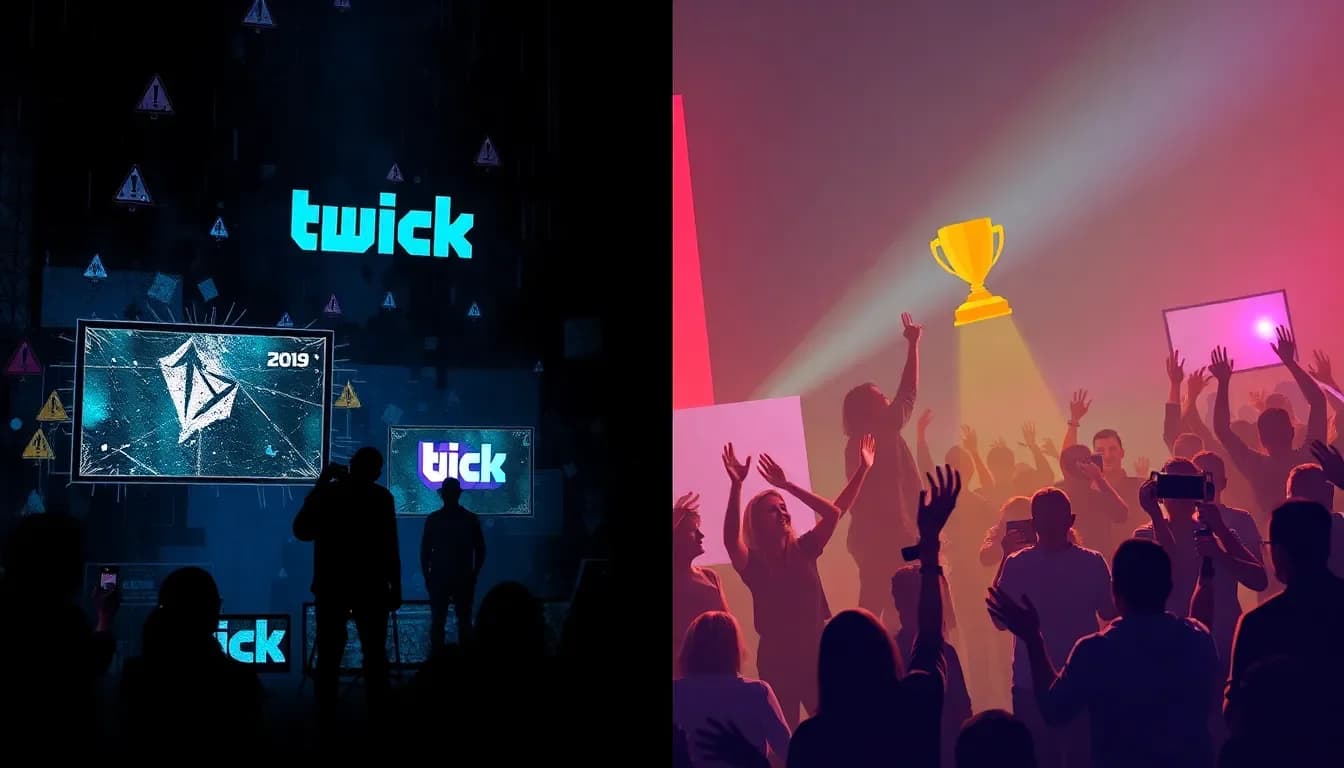
Many successful streamers use Twitch viewer bots to escape the zero-viewer graveyard. By boosting initial viewer counts, your stream appears higher in category listings — attracting organic viewers who then become genuine community members.
ViewerBoss helps new streamers:
- Get discovered in crowded categories
- Reach Twitch Affiliate requirements faster
- Build social proof that attracts real viewers
- Maintain natural-looking growth patterns
With AI-generated viewer accounts, geographic targeting, and realistic chat behavior, ViewerBoss provides the boost new streamers need without the risks of low-quality services.
Try ViewerBoss Free — No Credit Card Required →
Reaching Twitch Affiliate
Affiliate unlocks monetization. Here are the requirements:
| Requirement | Target |
|---|---|
| Followers | 50 |
| Stream Days | 7 (in last 30 days) |
| Stream Hours | 8 (in last 30 days) |
| Average Viewers | 3 |
Tips for Hitting Affiliate
- Stream consistently — Same days/times each week
- Play smaller games — Less competition
- Network actively — Raid and collaborate
- Promote off-platform — Bring friends and social followers
The average viewer requirement is the hardest part. This is where visibility tools like ViewerBoss help most — attracting the initial viewers needed to reach that 3-viewer average.
Common Beginner Mistakes to Avoid
Mistake 1: Streaming Popular Games Only
Streaming Fortnite or Valorant as a new streamer means competing with thousands of established channels. Start with smaller games where you can actually be discovered.
Mistake 2: Ignoring Audio Quality
Viewers tolerate mediocre video but leave immediately for bad audio. Invest in a decent microphone before a fancy camera.
Mistake 3: Streaming Without a Schedule
Random stream times mean viewers can't build habits. Pick 2-3 days per week at the same times and stick to them.
Mistake 4: Not Talking Enough
New streamers often play silently. Even with zero viewers, narrate everything. Future viewers may watch your VODs — and talking practice improves your on-camera presence.
Mistake 5: Waiting for Viewers Before Talking
"I'll be more entertaining when I have viewers" is backwards. Be entertaining first — viewers come as a result.
Mistake 6: Copying Big Streamers Exactly
What works for a streamer with 10,000 viewers won't work for you. Develop your own style and personality.
Equipment Upgrades Worth Considering
Once you're streaming regularly, consider these upgrades:
Priority 1: Audio
| Budget | Recommendation |
|---|---|
| $50 | Fifine K669B |
| $100 | Audio-Technica AT2020 |
| $250 | Shure SM7B (with interface) |
Priority 2: Lighting
| Budget | Recommendation |
|---|---|
| $30 | Ring light |
| $80 | Two softbox lights |
| $150+ | Elgato Key Light |
Priority 3: Camera
| Budget | Recommendation |
|---|---|
| $70 | Logitech C920 |
| $130 | Logitech C922 |
| $200+ | Sony or Canon DSLR/mirrorless |
Priority 4: Capture Card (for Console)
| Budget | Recommendation |
|---|---|
| $120 | Elgato HD60 S+ |
| $180 | Elgato HD60 X |
| $250 | Elgato 4K60 Pro |
Streaming from Console
If you're asking how do I start streaming on Twitch from PlayStation or Xbox, here's the quick guide:
PlayStation 5/4
- Create/link your Twitch account
- Press the Create button (PS5) or Share button (PS4)
- Select Broadcast
- Choose Twitch
- Customize title, camera, and mic settings
- Start broadcast
Xbox Series X/S
- Download the Twitch app from the Xbox store
- Link your Twitch account
- Open the game you want to stream
- Say "Hey Cortana, broadcast" or use the Twitch app
- Configure settings
- Go live
Limitations: Console streaming has fewer customization options. For overlays, alerts, and professional features, you'll need a capture card and PC.
FAQ: How to Start Streaming on Twitch
Is streaming on Twitch free?
Yes. Creating a Twitch account, using OBS, and going live are completely free. You can start streaming with zero investment if you already have a computer/console and internet.
What internet speed do I need to stream?
A minimum of 5 Mbps upload speed, though 10+ Mbps is recommended for stable 1080p streaming. Test your speeds at speedtest.net.
Can I stream without a webcam?
Yes. Many successful streamers are faceless or camera-optional. Your content and personality matter more than showing your face.
How long should I stream as a beginner?
Start with 1-2 hour streams. Quality matters more than quantity. As you build stamina and routine, extend to 3-4 hours.
When is the best time to stream?
It depends on your target audience. Generally, late afternoon to evening in your timezone works well. Use Twitch's analytics to see when your viewers are online.
How do I get more viewers as a new streamer?
Combine consistent scheduling, cross-platform promotion, networking with other streamers, playing discoverable games, and using visibility tools like Twitch viewer bots to overcome the initial algorithm disadvantage.
Can I stream copyrighted music?
No. Twitch will mute VODs and issue strikes for copyrighted music. Use royalty-free music from Epidemic Sound, Pretzel Rocks, or Twitch's Soundtrack feature.
How long until I can make money on Twitch?
You need to reach Affiliate first (50 followers, 3 average viewers, 8 hours streamed in 30 days). This can take anywhere from 2 weeks to several months depending on your approach.
Your First Stream Awaits
You now know exactly how to start streaming on Twitch. The technical setup is straightforward — creating an account, connecting OBS, and configuring basic settings takes less than an hour.
The real challenge isn't going live. It's being discovered in a sea of millions of streamers. Focus on consistency, quality content, and use every tool available to you — including ViewerBoss to overcome the visibility barrier that stops most new streamers before they ever get started.
Ready to start your streaming journey?
- Set up your Twitch account and OBS today
- Do a test stream to verify everything works
- Go live for real — even if no one's watching
- Stay consistent and improve with each stream
The best time to start streaming was yesterday. The second best time is right now.
Struggling to get discovered after your first few streams? Learn how Twitch viewer bots can help you escape the zero-viewer problem, or explore our comparison of Twitch vs Kick to see if another platform might work better for your goals.